Setting up remote print services might seem confusing if you are trying to do it and haven’t done it before.
Here is a step by step guide on how to set it up yourself:
- Access the Embedded Web Server and login as System Administrator.
- In the Embedded Web Server, click Properties > General Setup.
- Click Remote Services Setup.
- For Remote Services, select Enabled.
- To allow the device to request software files from Xerox, for Remote Software Download, select Enabled.
- To allow the device to synchronize with the Xerox licensing server, for Feature Activation, select Enabled.
- To allow a Xerox remote server to modify internal device settings, for Update Device Settings, select Enabled.
- To synchronize the device with the Xerox Remote Services datacenter on a defined schedule, daily, for Device Synchronization Time, type the time.
- To verify communication with the Xerox Remote Services datacenter, click Synchronize Now. A status message shows the result.
- If your network uses an HTTP proxy server, to set or update your proxy server, for HTTP Proxy Server, click Edit and enter your HTTP proxy server information.
- Click Apply.
- Logout of System Administrator mode.
If you need help or are still having trouble setting it up, please give us a call and we’d be happy to help you!
The post How to Set up Remote Print Services appeared first on Copier Lease Center.
source https://www.copierleasecenter.com/how-to-set-up-remote-print-services/
 efficiently. By getting a multifunction printer you can also prevent overcrowding in your space because you will be streamlining all your office needs on to one device. A color multifunction printer has the ability to fax, copy, scan, print, and more. Equipped with advanced technology, a Xerox all-in-one color printer will provide:
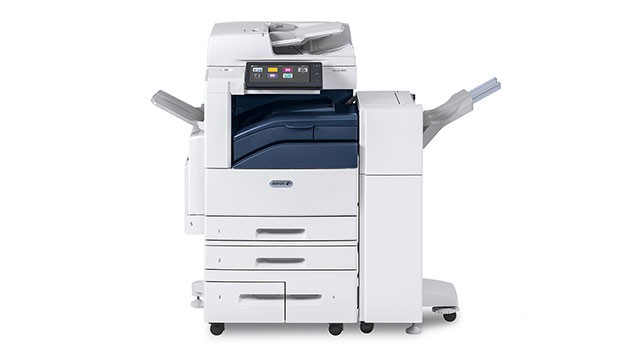
 Xerox AltaLink C8070
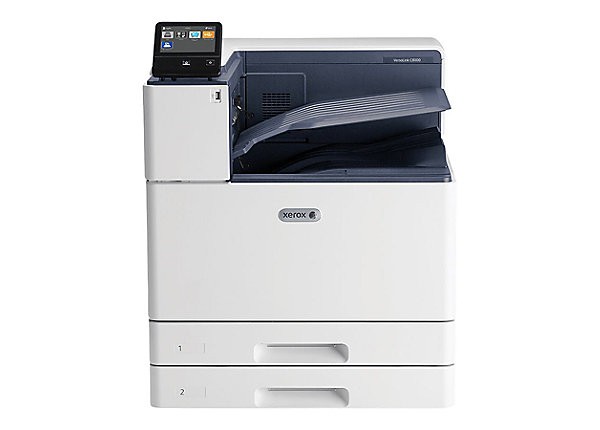
 Xerox Versalink C8000